Memorial bag
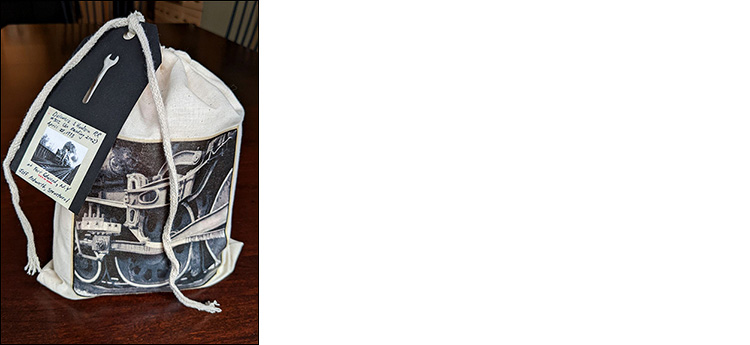
One of my friends, Liz, lost her father recently and they had not gotten a chance to do a proper memorial due to the pandemic. When it was safe, they decided to spread his ashes back in his home state of NY. They chose a spot that required a bit of a hike, so she decided to make up little bags of trail mix and other treats for the journey to the site. She contacted me, just asking for some advice on how to get these amazing photos that her father had taken onto the fabric bags. I volunteered to help her with the project knowing how much she had on her plate with planning the ceremony. This might be one of my favorite projects and I was so happy to be able to help her family out.
She sent me these images and the bags that she had purchased and I was off.
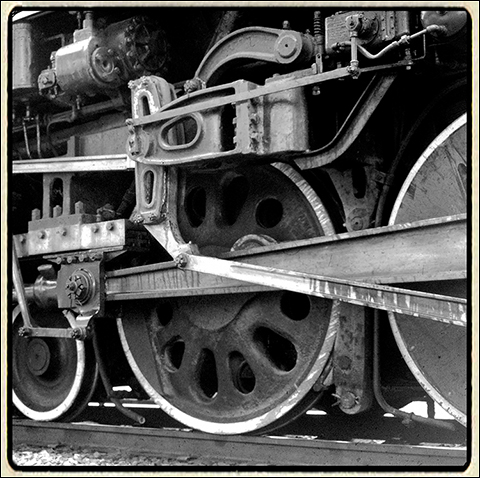
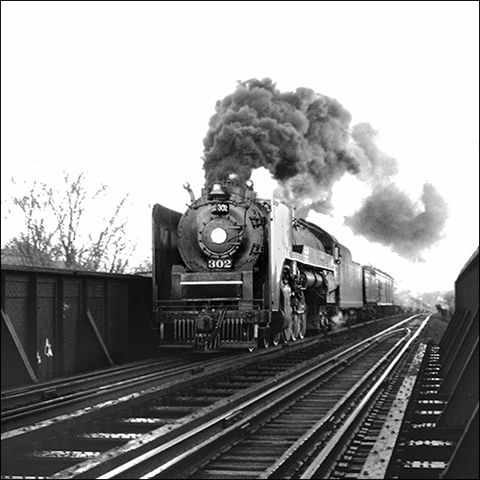
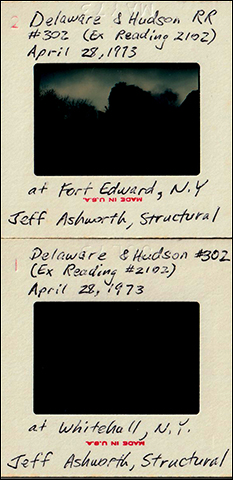
She got the images from her father’s library of slides, complete with his handwriting. I was getting a very nostalgic vibe from all of the images and knew that I wanted to keep that feeling for the project. She bought mini unbleached flour sacks, so we decided to do an iron on application. I have done iron on projects before, but never at this quantity. (There were about 25 bags to make.) I considered doing an image on both sides of the bag, but I quickly discovered that ironing on the second image really screwed up the first one. She wanted to make sure everyone got a bag, so she asked if I could also make tags with everyone’s names and I thought that would be a perfect place to use the second image.
I basically decided to recreate the slide as a wrap around tag. I am such a font nerd, so I poured through my catalog for what seemed like forever. I didn’t like any of them for this project, but I wanted to find something with a vintage feel. I was a little frustrated, but then I spotted my 1960’s vintage typewriter that I adore and had an idea.
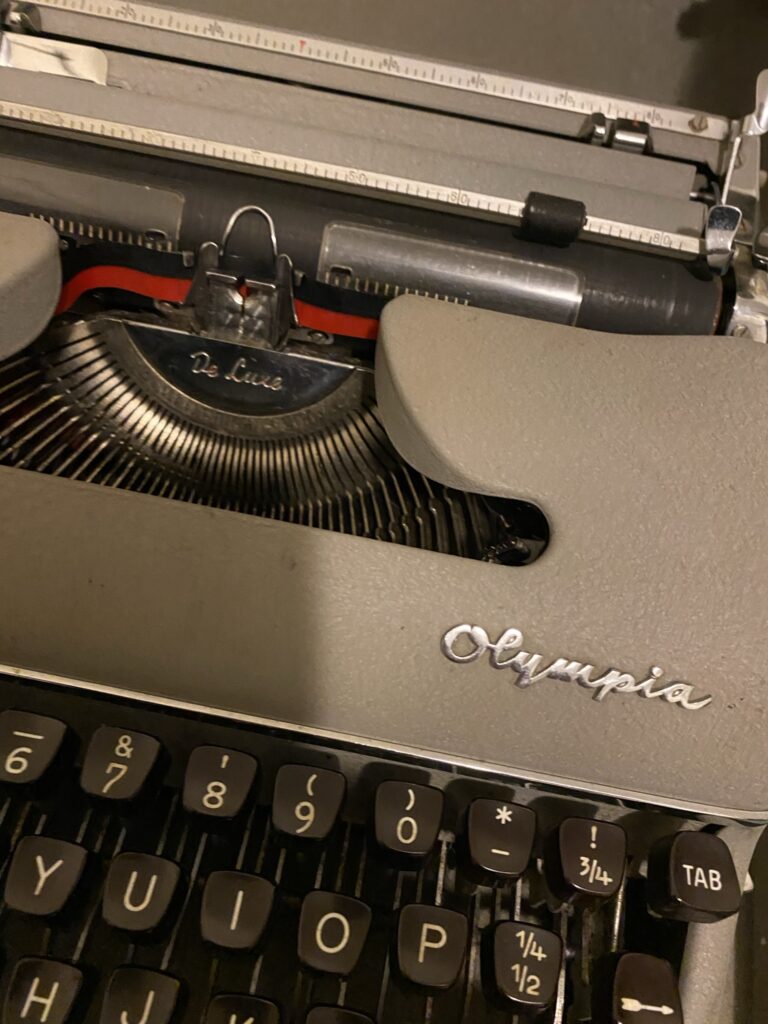
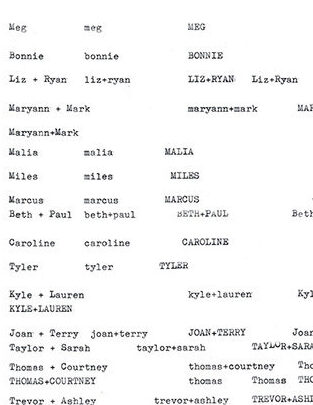
I started typing. I love how perfectly imperfect this thing types. I wasn’t sure if I wanted all capitals or all lowercase or both, so I typed out all of the options. Next, I scanned the whole page in, added a background texture mimicking the slide and saved out each of the tag names. Then, I laid out the tags in InDesign for production. Liz’s father was given the nickname “Wrench” by the family because he could fix just about anything. So I decided to incorporate the wrench into the tag. I used my Silhouette Cameo to cut the tags out and printed the tags on adhesive paper so I could wrap them around the bottom of the black cardstock tag.

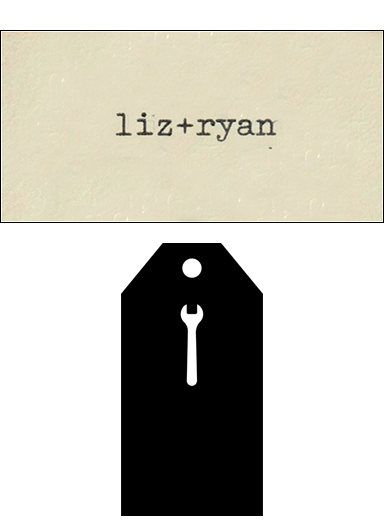

Here is the final result. It was definitely a trial and error situation to get the images to transfer properly on all 25, but I think those imperfections coupled with the vintage look of the bags really made this project a success. I actually sent along the wrench cut outs just in case Liz had a use for them as she is so creative. She ended up sprinkling them around the centerpieces at the Memorial Dinner after the hike. Genius. Liz told me that she is keeping her tag to use as a Christmas ornament, which is the biggest compliment to receive. I was so happy to be able to help Liz with this project and how well it turned out.
I showed Liz this post to get her approval and she reminded me of another really cool touch to the memorial. She carefully curated the bag of treats from all the snacks her dad loved. Such a great idea to further honor her father in this way.


